


Get 93% OFF on Lifetime
Exclusive Deal
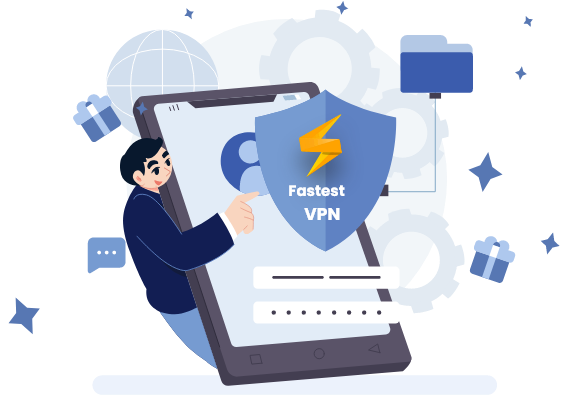
Don’t miss out this deal, it comes with Password Manager FREE of cost.
You have a VPN service and have only gone so far as to learn how to download and install it on your device. However, if you’re not too sure on how to turn off a VPN connection or disable it, this guide will show you how to do that on any device.

Other than that, we’re not too sure why you would want to turn your VPN off, knowing that the internet is a risky place to be connected to. There are hackers, spies, malware, and other kinds of online threats that you might want to stay clear off, and to do that, we recommend staying connected to a VPN.
On the contrary, if you’re planning on not using the VPN anymore or need to learn how to turn the VPN off on your device, we’re here to help!
As mentioned above, it’s usually recommended that you stay connected to a VPN for online protection and privacy. But, there might be some circumstances where you’re required to turn your VPN off.
Usually, a VPN is switched off when you’re experiencing issues with your network and would like to troubleshoot, or when you’re trying to set up a new internet connection.
Either way, whatever the reason may be, here’s how you can disable a VPN on multiple devices:
There are two ways to turn off your VPN on Android. You can either disable it on the VPN itself or via your Android smartphone’s VPN settings. Here is how:
This tutorial to turn off VPN on iOS applies to both iPhone and iPad. Here’s how to get started:
Just like Android, you can turn off a VPN on MacOS computers either directly from the app or manually by following these steps:
Turning off a VPN on Firestick has to be done through the app itself. When you download and install a VPN on Firestick, you will need to either download the app from the Amazon Store or sideload it through third-party sources. When you turn on a VPN on Firestick, it can only be done through the app. You will use the same process to turn off the VPN app on Amazon Fire TV. Here’s how:
Until and unless your Smart TV is running over the Android operating system, only then will you be able to download a VPN app directly on it. Once you’ve downloaded and installed the VPN app on your Android-based Smart TV, here’s how you can eventually turn the VPN off on your device:
To disable or turn off a VPN on your router, you need to head into your admin panel. Take a look below at how you can disable VPN routers that are currently the most popular:
There are many reasons why people use a VPN. Some require access to streaming services, while others need to protect themselves from hacking and surveillance. Either way, it’s always important to leave your VPN on.
Here are a few reasons why we recommend keeping FastestVPN switched on:
© Copyright 2024 Fastest VPN - All Rights Reserved.
Don’t miss out this deal, it comes with Password Manager FREE of cost.