

Get
93% Off!
on Lifetime Exclusive Deal
Don’t Miss out this deal, it comes with Password Manager Free of cost.

Updated guide for how to turn off private browsing on iPhone or iOS devices: Dated July 2026.
Private browsing in Safari is a useful feature that prevents your browsing history, search records, and AutoFill information from being saved.
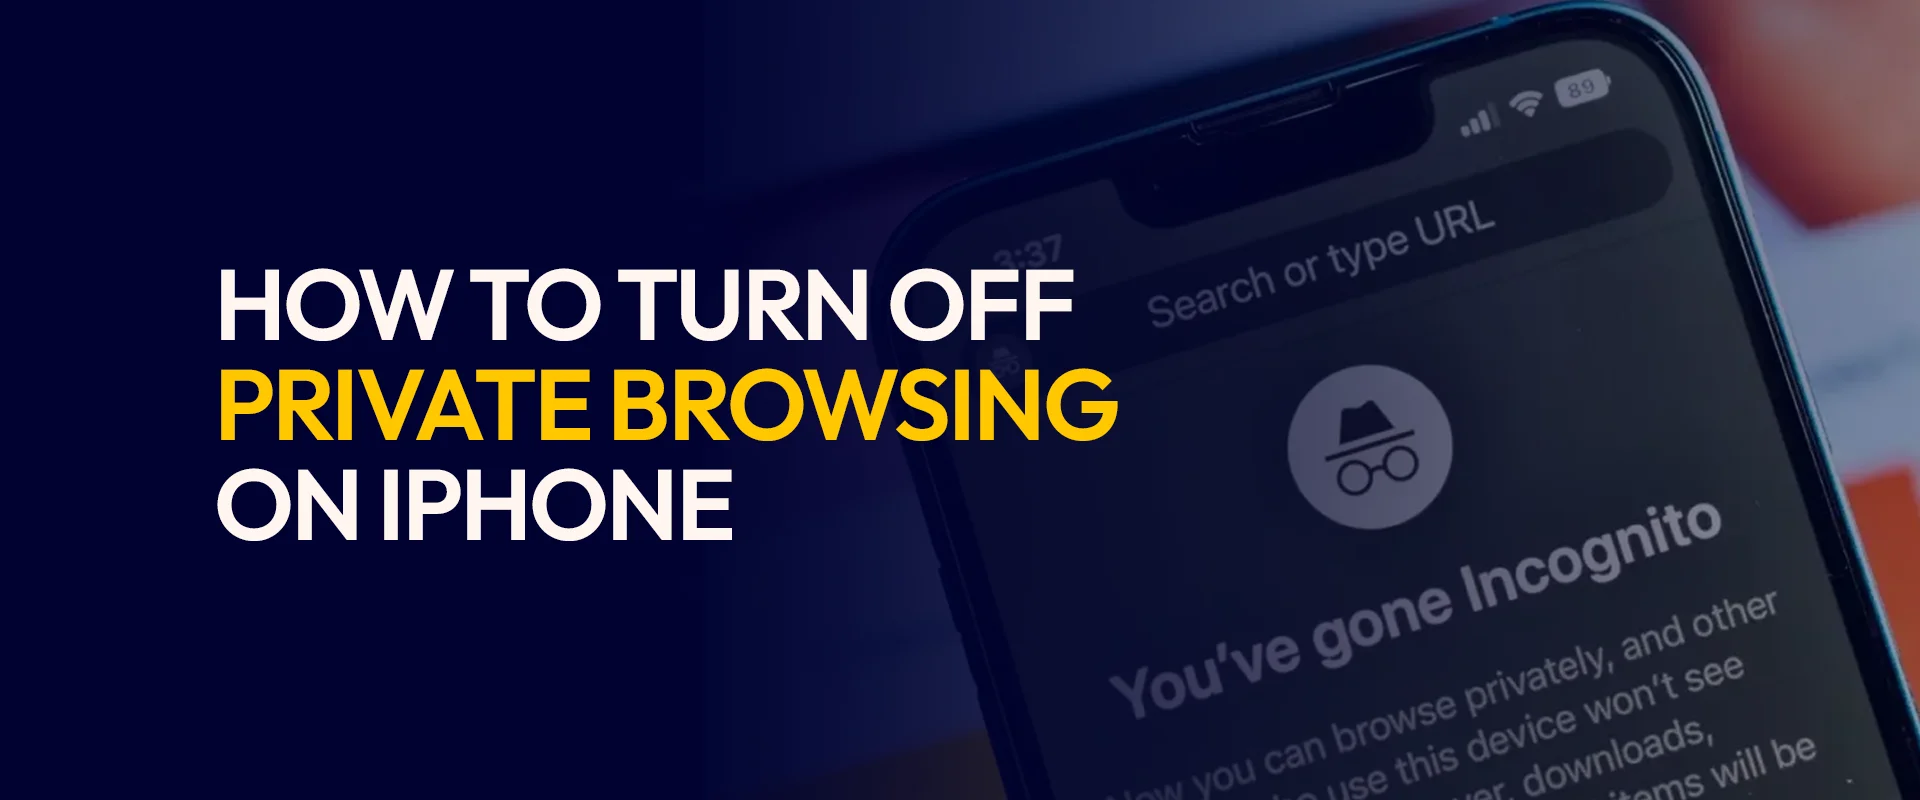
However, there are many reasons why you may want to ditch this feature or mode. It could be because you’re done with a sensitive task. Or, it’s possibly because you’ve accidentally opened a private tab and want to return to regular browsing.
Either way, this complete guide highlights all the bits and pieces on how to disable private browsing on iPhone. It also includes the new Locked Private Browsing feature introduced in iOS 17, and how to handle common issues like the private browsing button being missing.
When you use private browsing on iPhone, Safari operates in a temporary, isolated session with several key features:
It’s also important to know that Private Browsing doesn’t make you 100% anonymous online. Your internet service provider, employer, or websites can still see your activity. It simply prevents Safari from storing records on your device.
Also Read: How to Get Rid of Virus on iPhone
Apple redesigned the tab interface in iOS 17. This means that the method for switching between regular and private browsing has changed. Here’s how to exit “Private Browsing mode on iPhone”:
However, your private tabs remain open and can be accessed again later.
Also Read: iPhone 18 Rumors and Leaks
Starting in iOS 17, Apple introduced the Locked Private Browsing feature, which secures your private tabs with Face ID, Touch ID, or your device passcode.
This means that even if you switch away from Private Browsing, your private tabs lock automatically. You will need authentication to access them again. Here are two ways to turn off or exit locked private browsing on iPhone:
If you’re currently in a locked private session, here’s what you do:
If you try to return to Private Browsing later, you’ll be prompted to authenticate with Face ID, Touch ID, or your passcode.
This is for those who find the constant authentication prompt when accessing private tabs inconvenient. With that said, here’s how to disable the lock feature entirely:
NOTE – Even if you turn off the lock feature, the private browsing tabs remain separate from regular browsing. You will still need to manually exit Private Browsing by switching tab groups.
For those using an older version of iOS, the interface differs slightly. With that said, here’s how to turn off private browsing on iPhone 16 and earlier:
Sometimes, you might find that the option to use Private Browsing is missing, greyed out, or inaccessible. This is often caused by “Screen Time” restrictions.
Most of the time, it’s parents who use this setting to prevent children from browsing privately. Regardless, here’s how to fix it, restoring access to private browsing:
If prompted, enter your “Screen Time” passcode.
If “Limit Adult Content” or “Allowed Websites Only” is selected, the Private Browsing button will be hidden or grayed out.
To change this setting, you need the Screen Time passcode. This is best if you’re a parent who set up restrictions; you’ll need to remember the code you created.
No, there is no built-in setting to permanently disable Private Browsing on iPhone. It is a core Safari feature, but the only way to effectively block access is using the Screen Time “Content & Privacy Restrictions” method.
Anyone who knows the Screen Time passcode can re-enable Private Browsing.
Also Read: How to Stop App Tracking on iPhone
Now that you know how to turn off private browsing on iPhone, and ever need to turn it back on, here’s what to do:
It’s because of the Locked Private Browsing feature in iOS 17. It’s designed to keep your private browsing secure when you're away from your device. Yes, you can. You can use the Screen Time restrictions. Here’s how: Go to “Settings” > “Screen Time” > “Content & Privacy Restrictions” > “Content Restrictions” > “Web Content,” then select "Limit Adult Content" or "Allowed Websites Only." This will hide the Private Browsing button. No, it doesn’t. Your private tabs stay open in the Private Tab Group. They'll still be there when you re-enter Private Browsing mode. Yes, it is, as Safari doesn't save history, search records, or AutoFill data from Private Browsing sessions. It won’t even save it when you exit Private Browsing or not. Why does my Safari ask for Face ID when I open a private tab?
Can I permanently remove the Private Browsing option from my child's iPhone?
Does turning off Private Browsing automatically close my private tabs?
If I exit Private Browsing, is my private browsing history automatically deleted?
You now know how to turn off private browsing on iPhone. Other than this, always consider browsing safely no matter what device you use. Consider using the best VPN for iPhone and other devices, or for browser-safe surfing.
Take Control of Your Privacy Today! Unblock websites, access streaming platforms, and bypass ISP monitoring.
Get FastestVPN
© Copyright 2026 Fastest VPN - All Rights Reserved.
Don’t Miss out this deal, it comes with Password Manager Free of cost.