![]()


Get
93% Off!
on Lifetime Exclusive Deal
Don’t Miss out this deal, it comes with Password Manager Free of cost.
While “SOS Only” might seem to be a glitch that may make you regret spending an arm and a leg on iPhone, it’s only an indication that you’ve entered a region where signals aren’t available. For example, you might be out for a hike, and you see a SOS on iPhone. However, even if you’re back somewhere with full signal availability, the SOS will still be on.
Despite running here and there to find a stable connection, if the SOS remains enabled, it’s time to find the quick fixes to it. That said, this guide covers brief tutorials on how to fix SOS only on iPhone.
Note: While SOS mode only on iPhone is a result of the unavailability of a cellular network connection, you can still use a VPN to help in specific situations indirectly. For example, you can connect to a reliable VPN, like FastestVPN to bypass VoIP services or leverage WiFi calling through a VPN.
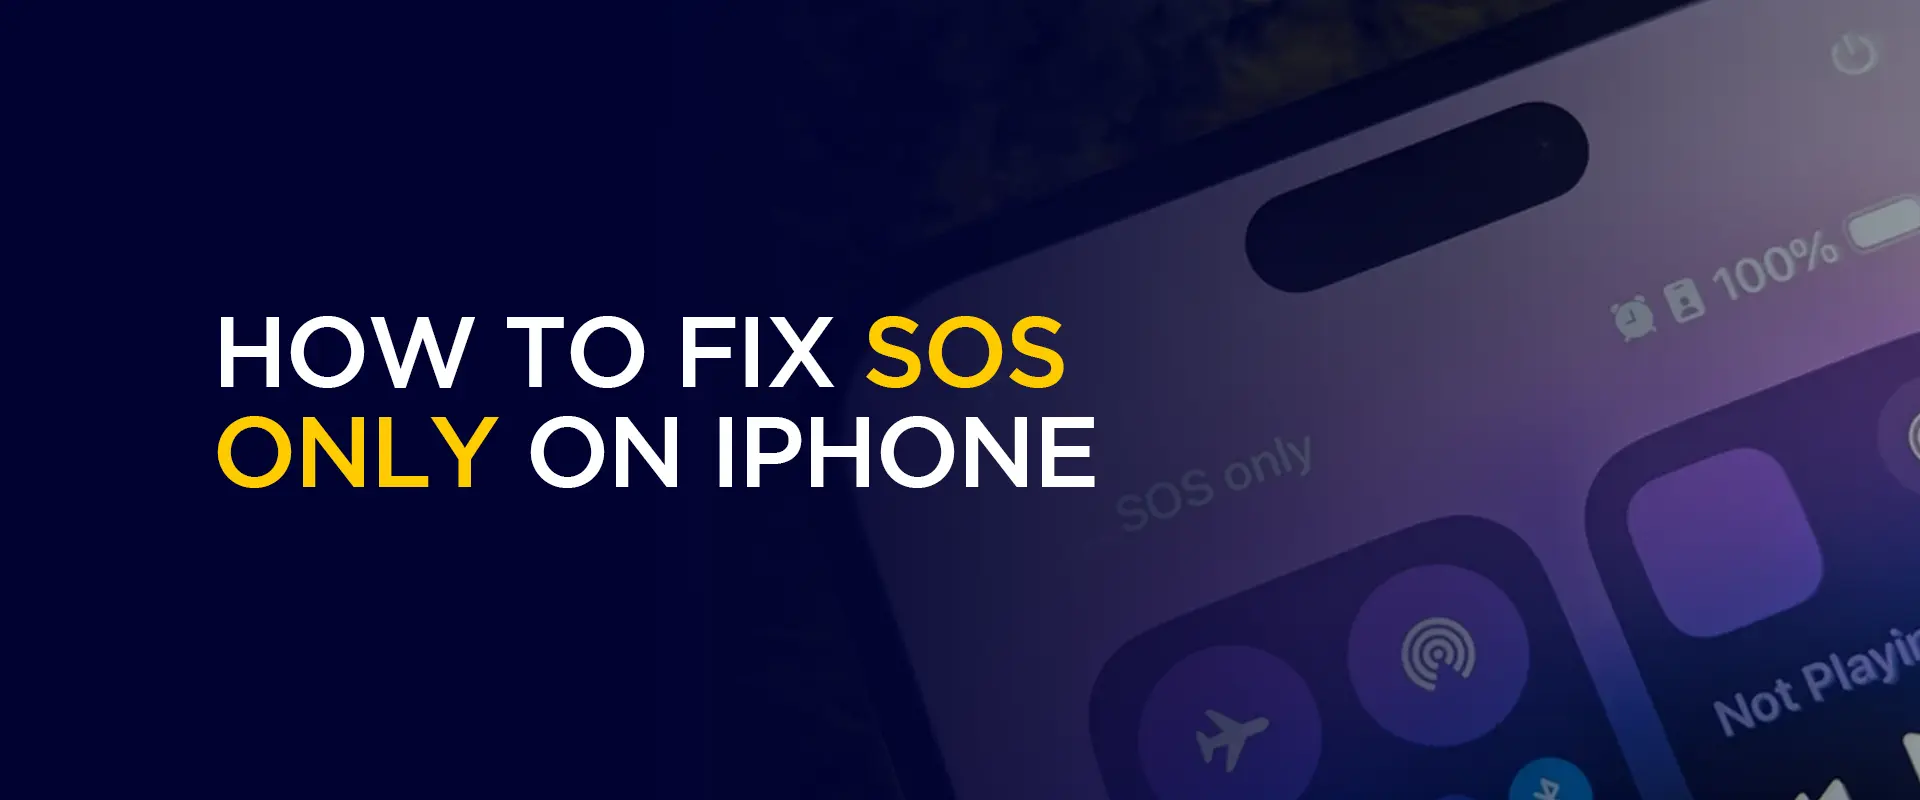
“SOS Only” on iPhone appears when your device can’t connect to the carrier’s network but still enables you to make emergency calls, like 911 and others. But it might not only be your network issues causing an SOS on iPhone; there are more reasons for it. Here are 5 common reasons for SOS only on iPhone:
Simply put, once you’re stuck with it, regaining a network connection is worse than finding a pink quencher. Meaning once SOS on iPhone is enabled, the phone won’t regain the network connection even if you’re in an area with full signals. For example, someone else in the same area might have the network, but you won’t.
However, there are more problems that you might face once the SOS on iPhone is enabled:
Internet services requiring cellular data won’t work, making apps dependent on network connectivity inaccessible.
Sending and receiving messages will be limited. And making emergency calls won’t always be possible.
An unexpected SOS on iPhone can interrupt your phone use. Meaning, the missed calls list might take days to scroll. Or, if you use your phone for work, too, then there might be a significant productivity disruption.
You’ll notice the battery dropping quicker than usual. This is due to the phone constantly searching for a stronger network signal.
If you notice the SOS mode consistently enabling, it might indicate SIM card problems or service provider-related issues.
Is your iPhone stuck in SOS mode? Here are 7 ways for SOS only on iPhone how to fix:
Go to an area with better cellular network coverage. Or, you can ask the people around to confirm network availability.
Despite moving to an area with network coverage, if you’re still struggling with the SOS being enabled, then restarting the phone might help. Here’s how to restart your iPhone (for iPhone X onwards):
After restarting your phone, turn the mobile data off and on. Here’s how to do that:
Here’s how to turn the cellular line off and on:
You can also remove and insert the physical SIM to fix SOS only on iPhone.
There might be a carrier update that you’re unaware of. Here’s how to update the carrier settings to fix SOS only on your iPhone:
Note: This tutorial for “how to fix SOS only on iPhone” will reset all your WiFi network settings. Only proceed with this if none of the above-mentioned steps work.
This guide walked you through “how to fix SOS only on iPhone” and brief steps to fix it. However, if you’re constantly seeing the SOS warning on your iPhone, then that might be an indication that the area you’re living in has poor cellular data coverage. For this, it’s best to switch to a better phone plan that offers a network in the area where you live.
© Copyright 2026 Fastest VPN - All Rights Reserved.
![]()
Don’t Miss out this deal, it comes with Password Manager Free of cost.