![]()


Get
93% Off!
on Lifetime Exclusive Deal
Don’t Miss out this deal, it comes with Password Manager Free of cost.
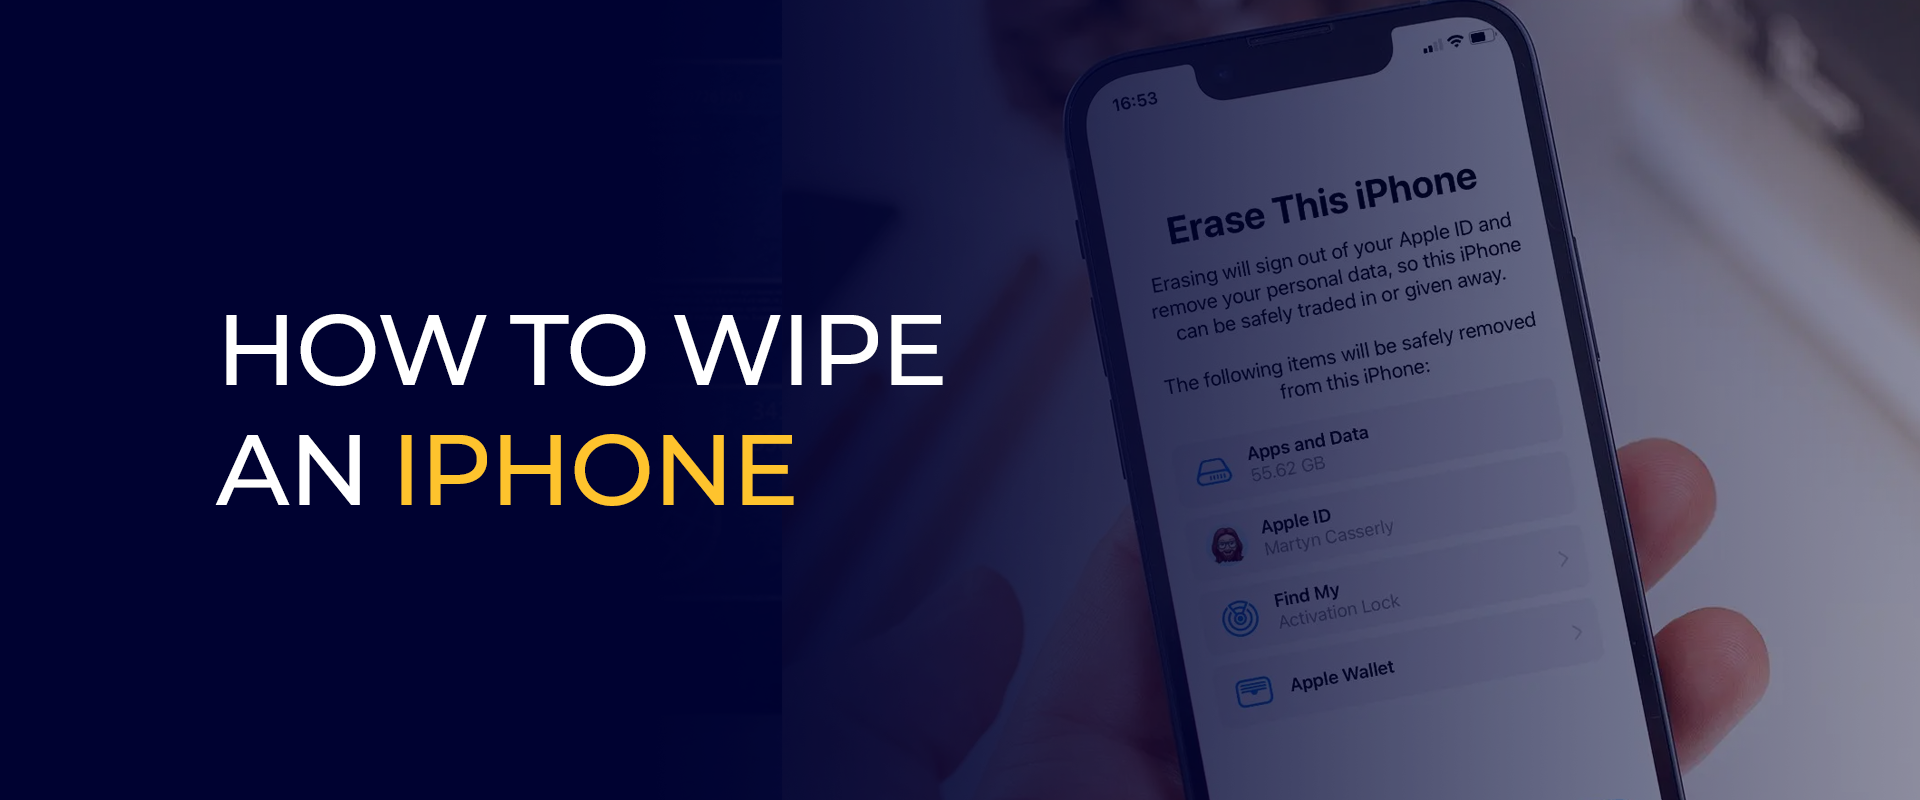
An iPhone wipe is essential if you are selling, trading, recycling, or just wanting to clear your iPhone settings to start afresh. Upgrading to a new phone also means handing over the old one with a complete wipe of all personal information that will safeguard your privacy. In this blog, we will talk about the step-by-step procedure about how to wipe an iPhone, the different ways to go about it, and extra tips for ensuring a smooth and safe wipe.
Note: Ensure your iPhone is connected to a secure Wi-Fi network during this process. Using FastestVPN can protect your connection, especially on public Wi-Fi.
Before looking into how to wipe an iPhone, we should discuss why this process is important. An iPhone keeps a lot of information that includes the following:
If all these are still recoverable by some other person, then this leads to privacy invasion or identity theft. Wiping gives assurance that the data will be safely erased, making the phone almost new. Wiping an iPhone can eliminate slowdown problems and free up memory space from unnecessary files or simply prepare it for another user. It might be helpful if you are troubleshooting the device or switching ownership.
You should back up all that needs to be saved because your iPhone will be erased after wiping it clean. You can use iCloud or iTunes/Finder to make a backup copy across their products.
iCloud Backup:
iTunes/Finder Backup:
This way, you will not have any trouble activating the lock. Sign out of iCloud as well as your Apple ID:
Before doing so, make sure my iPhone is turned off:
Setting > [Your Name] > Find My > Find My iPhone.Turn off Find My iPhone and enter your Apple ID password to confirm.
Public Wi-Fi networks are usually susceptible to hackers. FastestVPN can encrypt your connection and provide breakneck speeds, ensuring that your data remains under severe wraps while backed up or when a user logs off their account.
If you are giving away or selling the product, remove the SIM card for stipulation and any accessories, like screen protectors or cases, that were once bundled with the iPhone. They will probably fill their memories with history, trying to figure out how to make the best out of the ‘gift’, as it is a giveaway if it is done as described.
The easiest way would be to do that through Sdevice’s Settings app. It is best for those who can access the iPhone and want to know its passcode. Here’s how to wipe an iPhone using Settings:
Open Settings:
Confirm Erasure:
Wait for Completion:
This process may take a few minutes, depending on the data loaded on your iPhone. Once done, the device would show the setup screen since it’s ready for a new user.
Here is the method for remotely wiping an iPhone:
Go to iCloud.com: In your browser, visit iCloud.com. Sign in using your Apple ID.
Find My: Click on Find iPhone, and select your device from the top menu.
Erase iPhone: Click on Erase iPhone and confirm this command. This will wipe all data on the device remotely the next time it connects to the internet.
Removing from Account: Once done, click Remove from Account to delink the iPhone from your Apple ID.
Use FastestVPN to encrypt the connection to protect your Apple ID credentials while accessing iCloud.com, especially if you use any public or shared computer.
After you have successfully initiated the wipe process, you may want to check the following steps:
Confirming Wiping:
Turn ON the iPhone, which should show the setup screen, confirming that all data has been wiped out.
Preparing for Sale or Transfer:
If you are selling or giving away the iPhone, pack it in the original box with accessories (if available). Inform the new owner that the device has been reset.
Restoring Data (If You Are Keeping It):
If you will reuse the iPhone, sign in with your Apple ID to restore your data from an iCloud or iTunes backup.
Recycling:
If your goal is to recycle the iPhone, go ahead and responsibly recycle the phone through Apple’s recycling program or choose an authorized e-waste facility.
So, to wipe your devices without any problems, avoid these mistakes:
Wipe an iPhone without using the passcode; it can be done through iTunes or Finder using a computer. Connect the device, enter recovery mode, and restore. If Find My iPhone is enabled, it can be erased remotely through iCloud. If you wipe using Settings or iCloud, it wipes the data but keeps the iOS version intact. It may update the iOS to the latest version if you wipe it through iTunes/Finder. Wiping an iPhone takes 1-5 minutes, depending on the model and amount of data; it takes around 10-20 minutes when iTunes/Finder is used. Data recovery through OData is nearly impossible after wiping an iPhone, unless you have an automatic backup via iCloud or iTunes/Finder. So, backup before wiping constantly. If you've signed out of iCloud, disabled Find My iPhone, and erased all content, it's safe to sell your iPhone. To verify the wipe, check for the setup screen. AForiCloud backups need an internet connection to sign out of iCloud or wipe remotely, but wiping via Settings or iTunes/Finder can be done offline. Can I wipe an iPhone without the passcode?
When I wipe my iPhone, will it remove the iOS version?
What is the duration of wiping an iPhone?
Can I recover data after wiping my iPhone?
Is it safe to sell an iPhone after it has been wiped?
Do I need the internet to wipe an iPhone?
Knowing how to wipe an iPhone is critical for privacy and preparing for another user or a new beginning. It will enable you to safely erase all data and avoid typical pitfalls across these methods, whether using Settings, iTunes/Finder, or iCloud.
Backup your data, sign out of iCloud, and ensure you connect with a secure connection like FastestVPN to process those steps to secure all your information. So now you can confidently wipe that iPhone and move on.
Take Control of Your Privacy Today! Unblock websites, access streaming platforms, and bypass ISP monitoring.
Get FastestVPN
© Copyright 2026 Fastest VPN - All Rights Reserved.
![]()
Don’t Miss out this deal, it comes with Password Manager Free of cost.